LIQUID MUSIC USER MANUAL
User Interface Elements
Use this chapter as a guide to finding the various UI elements found in Liquid Music.
5.1 Toolbar
The toolbar contains transport tools, loop controls, buttons to show and hide panels, along with a couple buttons that make navigating through Liquid Music quicker and easier.
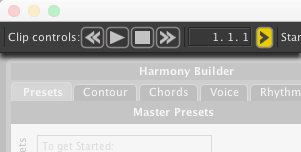
5.1.1 Clip Controls
Use the Clip Controls to launch or stop an Ableton Clip. The display windows shows the location of the playhead (that red line that moves during playback).
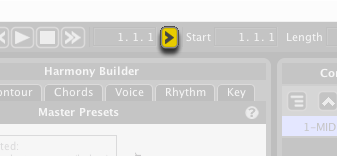
5.1.2 Follow Playhead
Click the Follow Playhead button to scroll the contents of the Arranger as the clip plays back.
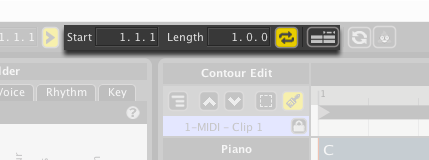
5.1.3 Loop Controls
The two displays indicate the start point and length of the loop region, respectively.
- Click the Loop Toggle button to activate the loop region. The two displays to the left show the start point and length of the loop region. You can click inside either window to manually enter a value.
- Click the Automatically Loop Selection button to snap the loop region to the selected region(s) in the Arranger.
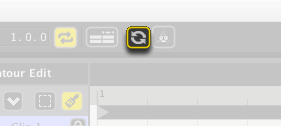
5.1.4 Refresh from Live
Click the Refresh from Live button to grab any MIDI contents you might have added to the clip using Live’s MIDI editor. (Max for Live ONLY)
5.1.5 Edit MIDI Map
Click the Edit MIDI Map button to reveal all mappable parameters in Liquid Music. Simply click any red-bordered UI element and move a knob or fader on your physical MIDI control surface to assign that control. See here for how to connect a MIDI Device to your computer.
Note that you can also toggle Edit MIDI Map mode using the following commands:
- In the menu, Options > MIDI Mapping Mode > Edit MIDI Map
- Using the keyboard shortcut: [command]/[ctrl]+[M]

5.1.6 Panel Show / Hide Buttons
Use the buttons along the right of the toolbar to show or hide panels in Liquid Music and Liquid Rhythm. Note that you cannot hide the Arranger panel.

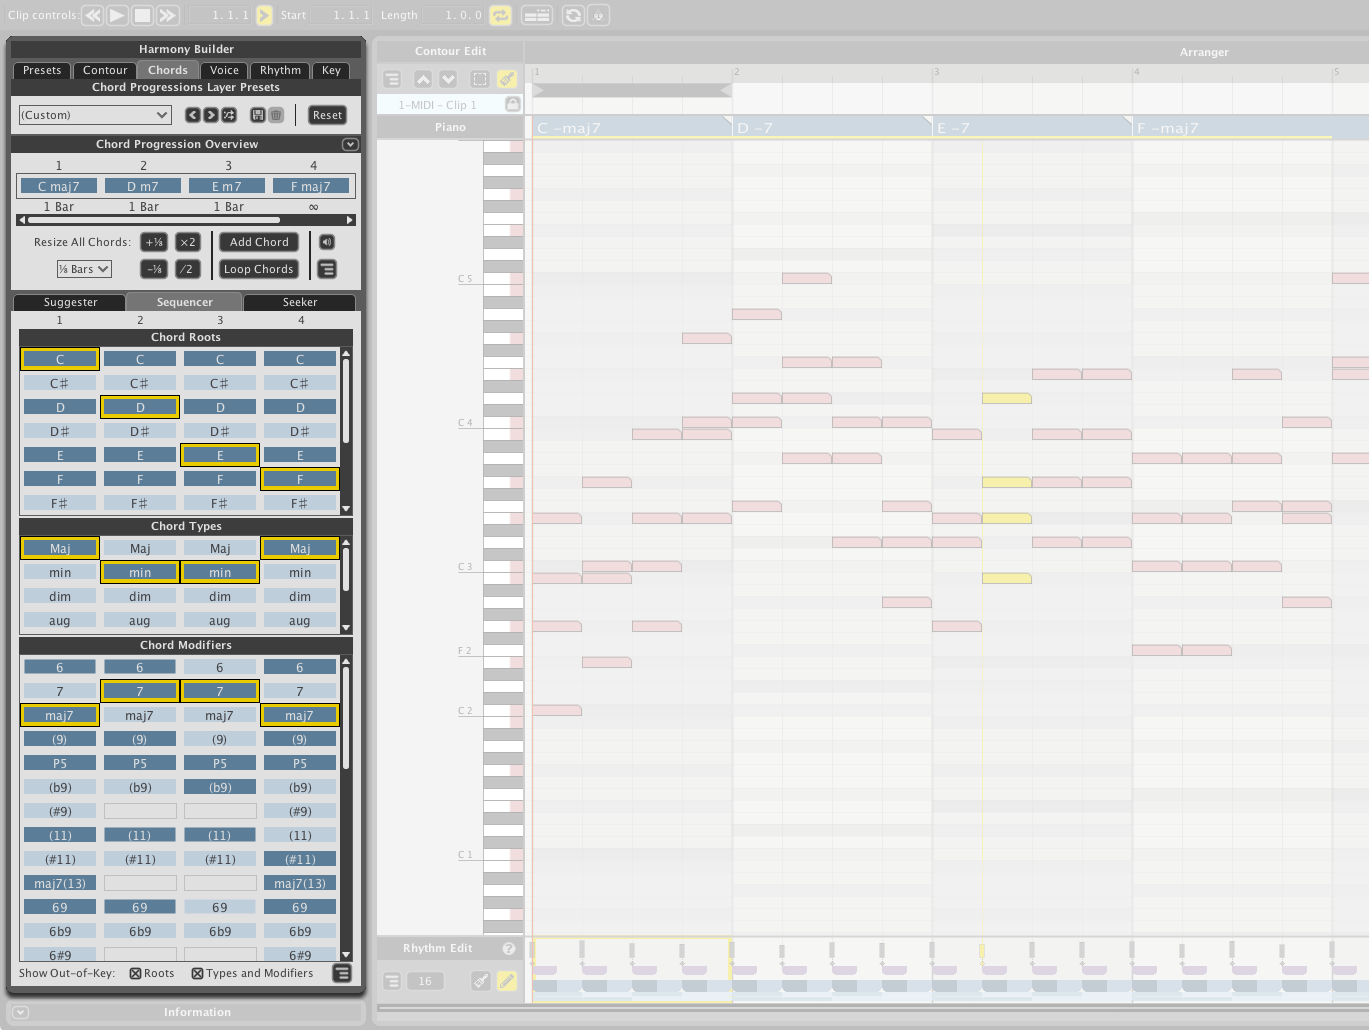
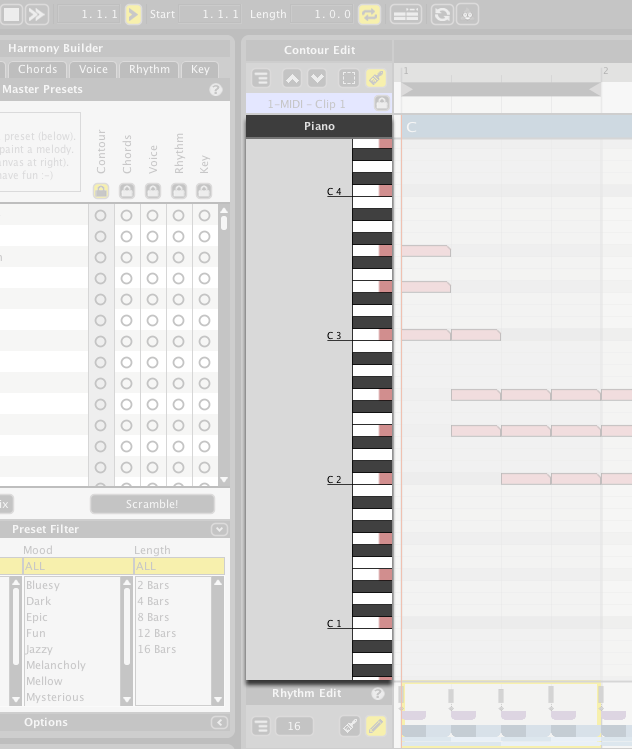
5.2 Arranger
The Arranger is the canvas you paint your sketches on. It also contains a wealth of features and information.
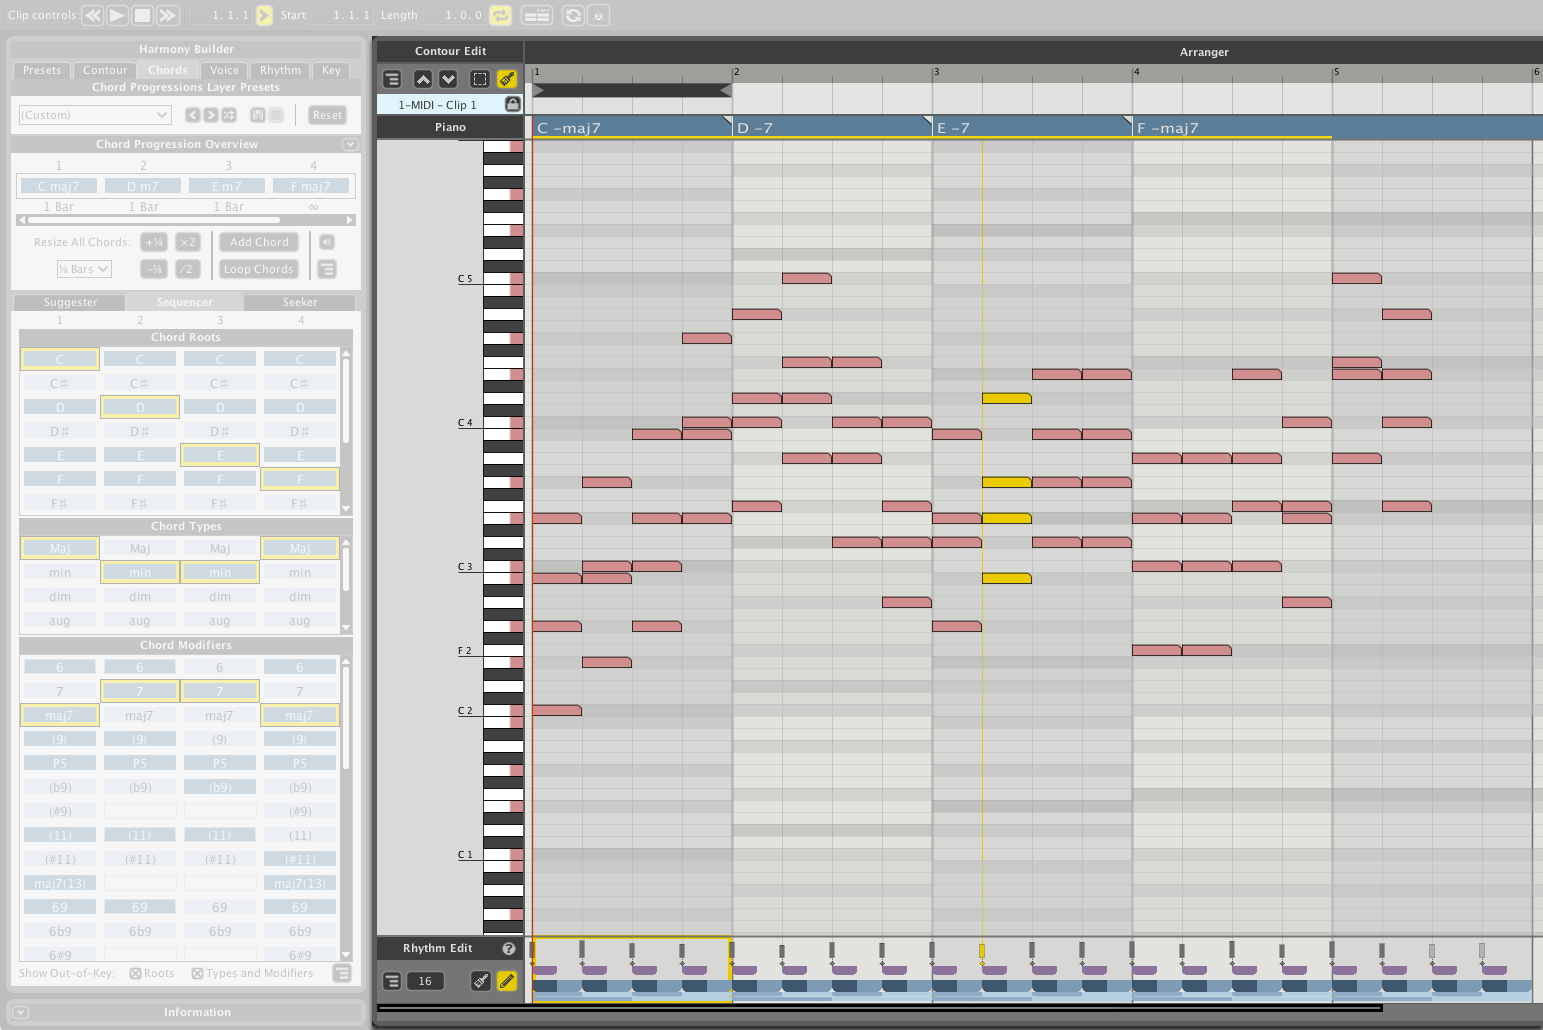
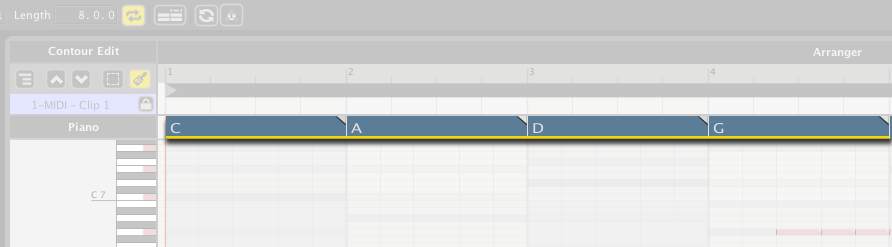
5.2.1 Arranger Canvas
The Arranger Canvas is where you sketch your melodies.
- Dark Grey horizontal blocks show you the root of the chord in the track above
- Light grey horizontal blocks show you the rest of the chord tones
- Dark vertical lines divide each measure
- Light vertical lines indicate quarter note division.
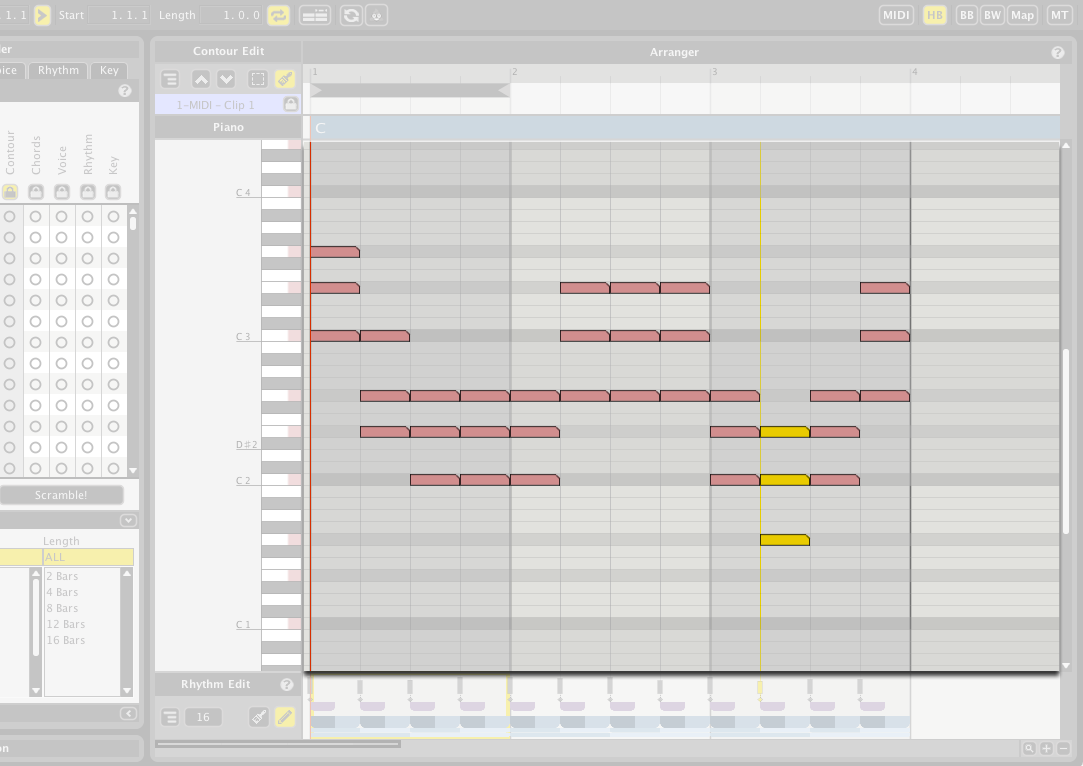
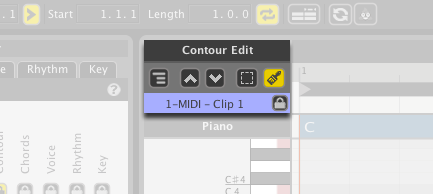
5.2.2 Sketch Edit
Use the buttons in the Sketch Edit panel to change how the sketches you draw are visualized, to move the sketch up or down by an octave, or to switch between marquee selecting and painting.
5.2.3 Piano Roll
The piano roll on the left of the Arranger helps label the blocks of MIDI in the Arranger.
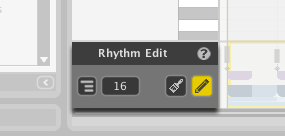
5.2.4 Rhythm Edit
The Rhythm Edit panel contains tools to edit the contents of the Rhythm track.
- Grid resolution
- Paint mode
- Note edit mode
5.2.5 Rhythm Track
The Rhythm Track contains the rhythmic progression for the notes in the arranger above. To edit the rhythms of the notes in the arranger, you make changes here. See the Rhythm Layer Presets for more information on how the Harmony Builder is used in conjunction with the Rhythm Track here to create the rhythmic patterns in your parts.

5.2.6 Chord Track
The Chord Track contains the chords you sequence using the Chords tab in the Harmony Builder. See the Chord Overview for more information on how this works.